
The days are getting shorter, the nights are getting cooler, and we have had a few rounds of light frost. That can only mean one thing: it’s time to plant garlic!
Planted in the fall and harvested the next summer, garlic is unusual in that it is only out of the ground for a couple of months. It is a very low maintenance plant, and also provides delicious garlic scapes in the late spring. It’s always a good idea to keep garlic on hand, because you never know when a bunch of vampires are going to show up.
If you’ve never tried homegrown garlic, why not plant it this fall?
Here’s how to do it
 Timing: Plant in the fall after a light frost, but before a heavy frost. You want to give the bulbs enough time to establish a few roots before the deep freeze of winter, but not so much time that they start to send up green shoots, which will weaken the bulb. In our area, the squirrels are very aggressive, and will dig up anything I plant too early, so I wait until after Hallowe’en.
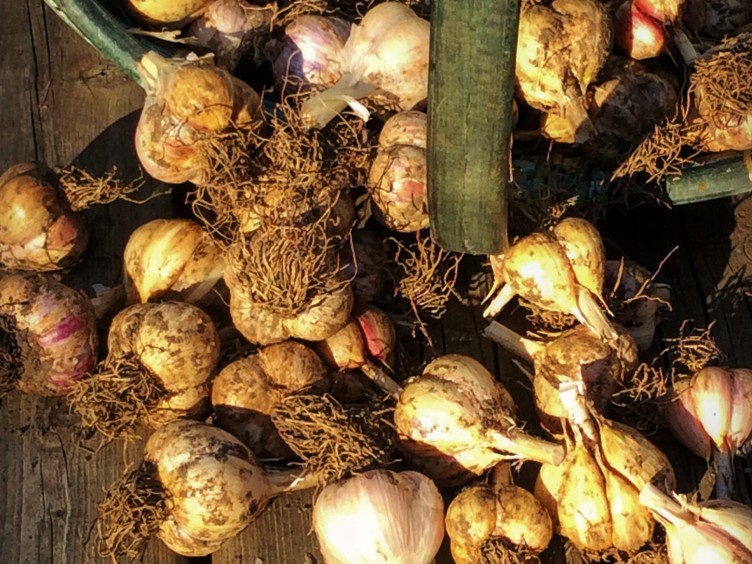
Choose your variety: Although it is tempting to plant garlic from the grocery store (and this is certainly an option), these typically come from China, and were not necessarily grown in climate conditions similar to yours. Therefore they may produce low quality garlic. It is better to buy garlic bulbs from a seed catalogue or local farmer’s market. Personally, we have had good success with the variety Musica (also known as Music), which was specifically bred to be grown in Ontario.
 Choose your bulbs: You should plant bulbs that have the characteristics that you want in future generations. This may be large individual bulbs, or possibly many cloves in one bulb. It may seem like a shame to not eat your nicest bulbs, but it is the best way to ensure a good crop next year. Keep the bulbs intact and in a cool, dark place until you are ready to plant.
Prepare the soil: Choose a sunny location, keeping in mind that the space will be occupied for most of the growing season. Dig the soil deeply to loosen it, breaking up any large clumps. Work in plenty of organic material – manure, compost, dead leaves, etc.
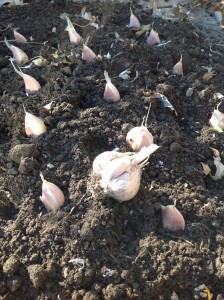
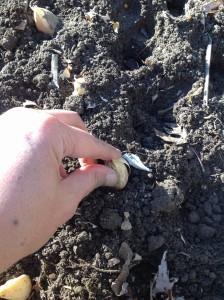
Plant: Break up the bulbs into cloves, and spread them out across the prepared soil. They should be spaced approximately 3-4″ apart. With your fingers, push them a few inches into the soil. The tops of the cloves should be completely buried. Cover back up with soil. I also like to put a thick layer of leaves on top of 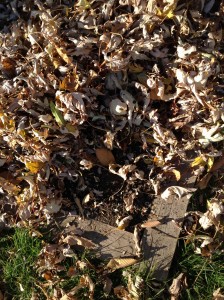 the soil, which provides nutrients and also helps protect the cloves from those pesky squirrels (we really do have a problem).
And that’s it! You shouldn’t see anything happen over the fall. The bulbs will lie dormant through the winter, then start to send up green shoots in the spring, when the magic of growth begins.